Next.js Image optimization destroys HDR colors
The Next.js Image component is designed to abstract away image handling in React projects, providing automatic optimizations for performance, intelligent resizing, lazy loading, and aggressive caching. But there's a critical flaw hiding beneath all that performance wizardry: it destroys wide color gamut images by converting everything to sRGB.
For anyone working with vibrant UI designs, photography, or any content where color accuracy matters, this is a dealbreaker. You get blazing fast images that look washed out.
After wrestling with this limitation, I built a solution that preserves P3 color space while retaining 95% of Next.js Image's optimization benefits.
When optimization destroys beauty
Next.js Image component uses Sharp.js under the hood for server-side image processing, and by default, Sharp converts all images to the device-independent sRGB color space while stripping metadata, including ICC color profiles. This makes perfect sense for web delivery and cross-platform compatibility, but it's devastating for wide color gamut content.
By default, Next.js Image's default behavior takes PNG files with P3 colors, processes them through Sharp, and outputs WebP with sRGB-only colors; great compression, but washed out colors.
// This PNG automatically becomes WebP for supporting browsers
<Image
  src="/bubble-design.png"
  width={800}
  height={600}
  alt="Auto-converted to WebP"
/>
This issue manifests most dramatically when you have images shot or designed in Display P3 color space. These images contain colors that simply don't exist in sRGB. When Sharp processes them through the default Next.js pipeline, those vibrant colors get clipped to the nearest sRGB equivalent, resulting in noticeably duller images on P3-capable displays.
The technical difference is surprisingly simple. Next.js uses Sharp with default settings that prioritize compatibility:
// Simplified version of Next.js internal processing
sharp(inputBuffer)
  .resize(width, height)
  .webp({ quality: 75 }) // No ICC profile preservation
  .toBuffer();
My enhancement adds just two critical parameters:
// What we do differently
sharp(inputBuffer)
.resize(width, height)
.keepIccProfile() // This preserves color space
.webp({
quality: 75,
smartSubsample: false, // Maintains color accuracy
})
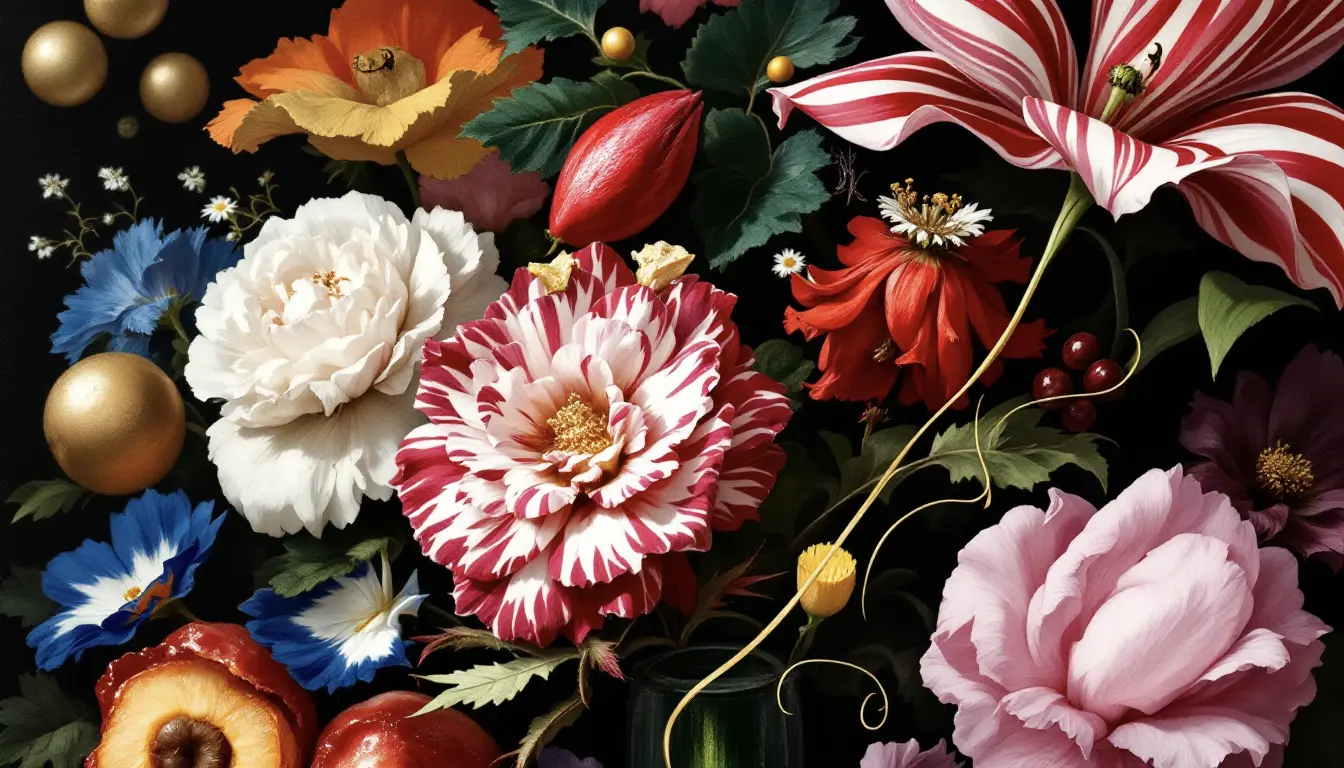
.toBuffer();This limitation became particularly frustrating while working with p3-gamut UI mockup images, where interface screenshots and mockups lose their visual impact. The interfaces with HDR colors and gradients will appear flat and lifeless after Next.js optimization, despite being perfectly crisp and fast-loading. You're forced to choose between performance and color accuracy, when modern web development should deliver both.
Understanding P3 Color Space
While sRGB has served as the web standard since the 1990s, it covers only a fraction of colors the human eye can perceive.
P3 is a superset of sRGB, meaning any sRGB color can be represented in P3, but P3 can display approximately 25% more colors, particularly in the deep reds and vibrant greens that make interface designs pop. A color like #ff0000 in sRGB becomes a much more saturated red when interpreted as P3, while colors that exist in P3 space simply cannot be represented in sRGB at all.
The practical impact is substantial. Modern displays like MacBooks, iMacs, high-end monitors, and most mobile devices can reproduce P3 colors. Safari has supported P3 in CSS since 2016, and Chrome finally achieved full support in 2023. We're at an inflection point where wide color gamut is becoming the norm, not the exception.
For UI design, this expanded palette is particularly valuable. Interface elements that rely on color intensity for hierarchy, vibrant accent colors that guide user attention, and the subtle gradients that give modern designs their depth all benefit dramatically from P3's expanded range.
A color-preserving P3Image alternative component
My P3Image solution follows the same path but adds ICC preservation, resulting in WebP files that maintain P3 colors while achieving identical compression benefits.
Rather than fighting Next.js Image's architecture, I built a solution that works with it. The approach centers on a custom P3Image component that wraps Next.js Image while routing local images through my own P3-preserving processing pipeline. The solution consists of three key pieces working together: a P3Image component that serves as a drop-in replacement for Next.js Image, an image processing API that handles server-side Sharp processing with P3 preservation, and an image processor containing the core Sharp logic with ICC profile handling.
import P3Image from '@/components/P3Image';

// Automatically preserves P3 color space
<P3Image
  src="/bubble-maison-design-dark.webp"
  width={800}
  height={600}
  alt="Vibrant UI design"
  preserveP3={true} // default
/>

// Falls back to standard Next.js optimization
<P3Image
  src="/simple-icon.png"
  width={100}
  height={100}
  alt="Simple icon"
  preserveP3={false}
/>
The implementation uses a hybrid architecture that combines client-side React components with server-side image processing. Understanding what runs where is crucial to grasping how this solution maintains all of Next.js Image's benefits while adding P3 color preservation.
The actual image processing and P3 color preservation happens entirely on the server. The image processing logic uses server-side Node.js APIs. This includes Sharp.js for image manipulation and the file system module for reading source images.
Tthe API route validates parameters and security constraints, then calls the processing function which reads the image file, applies Sharp.js processing with ICC profile preservation, and returns the optimized buffer with P3 colors intact.
// Server-side image processing with P3 preservation
export async function processImageWithP3({ src, width, quality, format }) {
  const imagePath = path.join(process.cwd(), "public", src);
  const imageBuffer = await fs.readFile(imagePath);

  let sharpInstance = sharp(imageBuffer);

  // P3 color preservation
  if (metadata.icc) {
    sharpInstance = sharpInstance.keepIccProfile();
  } else {
    sharpInstance = sharpInstance.withIccProfile("p3");
  }

  return optimizedBuffer;
}
Meanwhile, the P3Image component itself is a client-side React component that orchestrates this server-side processing. It's essentially a smart URL generator that creates requests triggering server-side processing while maintaining all the client-side benefits of Next.js Image; lazy loading, responsive images, and event handling.
export default function P3Image({ src, width, height, ... }) {
  const p3Loader = ({ src, width, quality }) => {
    return `/api/image?src=${src}&w=${width}&q=${quality}`;
  };

  return <NextImage loader={p3Loader} src={src} ... />;
}
The complete request flow demonstrates this hybrid approach: the P3Image component renders and generates URLs, the browser makes HTTP requests to those URLs, the server-side API route processes images with Sharp.js, and the browser receives and displays the processed images with P3 color preservation intact. This architecture is necessary because Sharp.js requires Node.js for file system access, React components need client-side rendering for UI interactions, and we want to preserve all of Next.js Image's client-side optimizations.
The P3Image component uses a custom loader function that intelligently routes local images through our API while passing external URLs through unchanged:
const p3Loader = ({ src, width, quality }) => {
  if (src.startsWith("http://") || src.startsWith("https://")) {
    return `${src}?w=${width}&q=${quality}`;
  }

  const params = new URLSearchParams({
    src: src,
    w: width.toString(),
    q: quality.toString(),
    format: format,
  });

  return `/api/image?${params.toString()}`;
};
This approach preserves all of Next.js Image's client-side behavior: lazy loading, responsive sizing, event handlers—while giving us complete control over server-side processing.
The core magic happens in the image processor, where we use Sharp's ICC profile capabilities to preserve color information. We check image metadata for existing color profiles and either preserve them with keepIccProfile() or add a P3 profile with withIccProfile('p3') for images lacking color information. This dual approach ensures both profile-aware and profile-naive images get proper color handling.
// Get image metadata to check for existing color profile
const metadata = await sharpInstance.metadata();

// Preserve or add P3 color profile
if (metadata.icc) {
  sharpInstance = sharpInstance.keepIccProfile();
} else {
  sharpInstance = sharpInstance.withIccProfile("p3");
}

// Convert to WebP with color-preserving settings
const optimizedBuffer = await sharpInstance
  .webp({
    quality: quality,
    effort: 4,
    smartSubsample: false, // Critical for color accuracy
  })
  .toBuffer();
Each Sharp.js setting was chosen specifically for P3 color preservation. The smartSubsample: false setting is crucial; it prevents chroma subsampling that would degrade color accuracy in favor of smaller file sizes. We balance compression time versus quality with effort: 4, and for JPEG output, we use chromaSubsampling: '4:4:4' instead of the default '4:2:0' to maintain full color resolution. The performance cost of these settings is minimal: typically 10-20% longer processing time, but the color accuracy improvement is substantial, especially for interface designs with saturated accent colors.
My implementation also includes intelligent caching and security measures:
// Generate cache filename based on source and parameters
const hash = crypto
  .createHash("md5")
  .update(`${src}_w${width}_q${quality}_${format}`)
  .digest("hex");
const cacheFilename = `${hash}_p3.${format}`;

// Security: Prevent path traversal
if (src.includes("..") || src.includes("\\") || !src.startsWith("/")) {
  return NextResponse.json({ error: "Invalid src parameter" }, { status: 400 });
}
The caching strategy compares modification times between source and cached images, ensuring cache invalidation when source files change. Security validation prevents path traversal attacks while maintaining usability.
Performance tradeoffs
This solution introduces some performance considerations compared to Next.js native image processing. While Next.js leverages Vercel's global edge network for image processing, providing fast, geographically distributed optimization, my P3Image solution runs on the server or serverless function. This means the processing pipeline differs significantly: Next.js routes requests through edge cache checks before Sharp processing with sRGB conversion, while our solution checks file cache before Sharp processing with P3 preservation.
The real-world performance impact varies by scenario. First loads from nearby locations typically add about 50ms, while distant locations might see 250ms additional latency due to the lack of geographic distribution. However, cached loads perform identically to Next.js native processing, and since cached requests represent the majority of traffic for most sites, the practical impact is often minimal.
The performance tradeoff is justified when color accuracy directly impacts user experience. Design portfolios, photography showcases, brand imagery, and any content where visual quality serves as a competitive advantage. It's less suitable for performance-critical scenarios driven by content management systems, like e-commerce product thumbnails, news article images, or social media feeds.
What We Preserve and What We Gain
Understanding exactly what Next.js Image benefits we preserve is crucial for making informed implementation decisions. The good news is that we retain nearly all of Next.js Image's functionality while adding crucial color accuracy. Lazy loading continues to work; images still load only when entering the viewport. Priority loading with priority={true} works for above-fold images, responsive images maintain automatic srcset generation, and all event handlers like onLoad and onError continue functioning normally.
We actually enhance several benefits in the process. WebP conversion now includes P3 color preservation, format support extends to WebP, JPEG, and PNG all with P3 handling, and we add device pixel ratio parameter support. Our cache headers include 1-year caching with immutable flags plus a custom X-P3-Preserved header for debugging.
The tradeoffs are minimal. We lose edge caching since our API runs on your server rather than Vercel's edge network, and automatic AVIF support isn't implemented yet (though it could be added). We also explicitly control output format rather than relying on auto-detection, and our custom Sharp processing replaces Next.js defaults.
We retain 95% of Next.js Image's benefits while gaining crucial color accuracy. The performance impact is minimal;slightly slower first load due to server processing, but identical cached performance.
To minimize the performance gap between the P3 implementation and Next.js native processing, several optimization strategies can be employed. CDN integration could upload processed images for global distribution, edge function deployment could move our API route to edge locations, and a hybrid approach could selectively apply P3 preservation only where it matters most:
function SmartImage({ src, preserveP3 = false, ...props }) {
  // Use P3 route only for color-critical images
  if (preserveP3 && isColorCritical(src)) {
    return <P3Image src={src} {...props} />;
  }

  // Use Next.js native for everything else
  return <Image src={src} {...props} />;
}
This hybrid approach maintains optimal performance for non-color-critical content while ensuring accurate color reproduction for design work, photography, and brand assets.
Testing with the bubble design interfaces revealed the dramatic difference P3 preservation makes. On P3-capable displays, the vibrant blues, purples, and greens in the UI mockups appeared significantly more saturated and true to the original design intent. Performance metrics showed first loads taking 100-300ms versus 50-200ms for standard Next.js, but cached loads remained identical at 10-50ms with only a 2KB bundle size increase. The color accuracy improvement from sRGB to P3 provides 25% more available colors, and the slight performance penalty on first load is more than offset by the visual quality improvement, especially for design-focused content where color accuracy directly impacts user perception of quality and attention to detail.
When to use P3Image
The beauty of this solution lies in its flexibility. You can migrate selectively, using P3Image for colorful content while keeping standard Next.js Image for simple graphics, or implement it as a complete drop-in replacement where all existing props work identically.
// Use P3Image for vibrant, color-critical content
<P3Image src="/ui-design-screenshot.jpg" preserveP3={true} />
<P3Image src="/product-photo.jpg" preserveP3={true} />

// Use standard Image for simple, non-color-critical content
<Image src="/icon.svg" />
<Image src="/simple-diagram.png" />
Deciding when to use P3Image versus standard Next.js Image comes down to balancing color accuracy needs against performance requirements. P3Image excels for UI design screenshots and mockups where interface colors need to match design intent, photography and artwork where color accuracy is fundamental, product images for premium brands where color consistency affects brand perception, design portfolio pieces where professional credibility depends on color accuracy, and marketing materials with brand colors requiring consistent representation across displays.
Conversely, standard Next.js Image remains the better choice for performance-critical scenarios like e-commerce product thumbnails where speed affects conversion rates, news article images where users expect instant loading, social media feeds requiring maximum efficiency, and mobile-first applications with bandwidth constraints. It's also more appropriate for content where color accuracy is less critical; simple icons and graphics with limited color palettes, monochrome or low-saturation content, background textures and patterns, and technical diagrams where clarity trumps color vibrancy.